Saturday, June 25, 2011

Process: Staining a Canvas

Once the canvas has been stretched, I typically stain the canvas with a medium tone.  For the past couple of years I've been using a medium brown color.  It just seems to work.  That way I'm not starting with a start white sheet in front of me.  I find it simpler to move from the medium tone to lighter and medium to dark, than to have to make even my lightest tones darker than the actual canvas.

It is basically a thinned out burnt umber and white.  I usually have enough to stain a couple of medium sized canvases, so I can do more than one at a time (and that is one less excuse for starting the next painting)

Once dry, I will get the basic forms for the painting drawn onto the canvas.
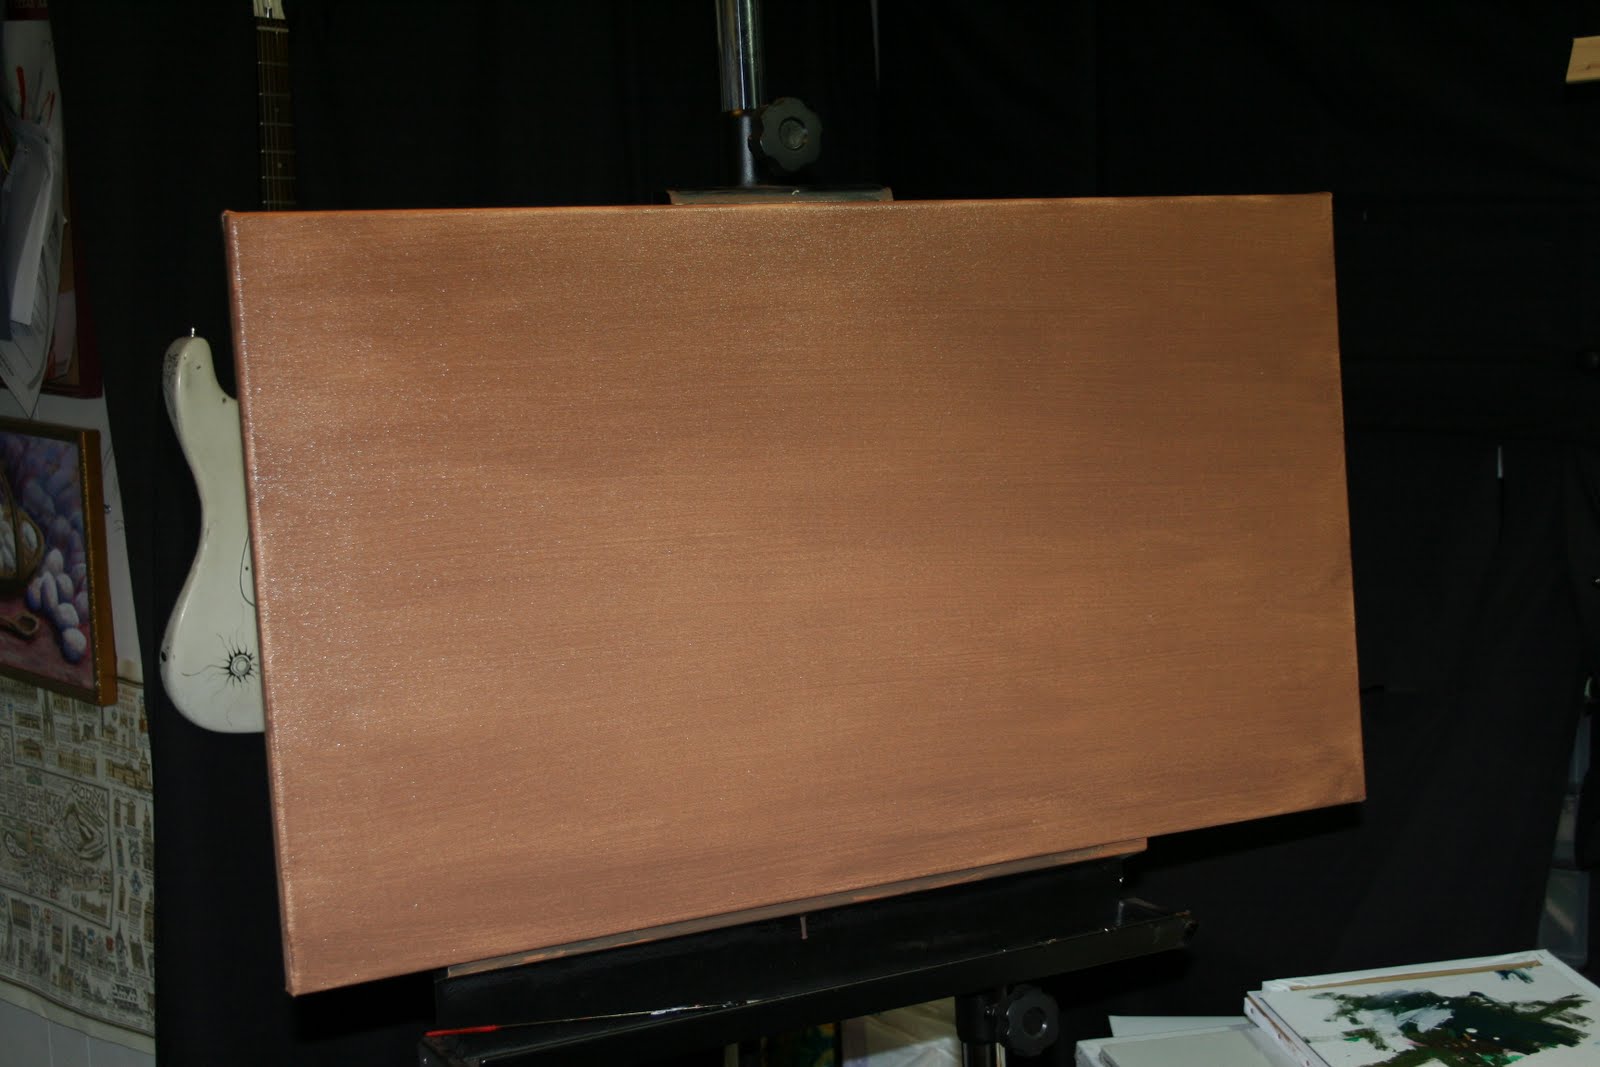
Canvas freshly stained
Staining gear...which I forgot to clean up

Look for an update soon with the basic layout sketched on the canvas.

May God bless you deeply,
Rob

Thursday, June 23, 2011

Process: Stretchin' a Canvas

I've been going through subject matter to paint next.  I had narrowed down to a few photos I'd taken over the past few years to use as source material for paintings and I really got stuck on this one photo:
Source photo for painting

It is my younger son a couple years ago on the beach.  After looking at the important elements, the best proportions and composition, I realized it would be best to have a more "horizontal" composition.  This should elongate the horizon and water/shoreline that are prevalent in this photo. 

What I have arrived at is a 20" x 36" canvas.  This had canvas had to be built.  Here is the real basic process:
Tools for the job

Stretcher bars assembled and laid out on canvas roll.  Cut to wrap around the back of the bars for a "Gallery Wrap"
Canvas cut down to size
Starting in the center of each side: pull tight, staple once, move to opposite side repeat... then start adding two staples to each side.  Canvas pliers help in really gripping the canvas to pull taut.
Corners are made like "hospital corner" on a bed

Monday, June 13, 2011

Poem Panels Installed

These are complete and installed (and yes I am actually making a post)!

The client is very pleased with the final product.  I think these look stellar as well.  I ended up heavily texturing each panel they have a very painterly look and nice relief.  These were not designed or intended to be a focal point, they are to be "background music" in the family's living area, as they are a backdrop to photos of three children.

Each panel is approximately 52 x 24 inches in size.

Well, pictures speak louder than words...so, have a look!

Panels Installed

Entire unit with photos in front of poems.  We will be updating with more transparent frames.  We will probably make another panel for the left side of the unit as well.

Live, love, laugh,
Thanks for looking,

Rob

Wednesday, May 4, 2011

Edible Sculpture

Okay...we're talking cakes here.  Not necessarily fine art, but pretty fine tasting.

The wife and I really enjoy making fairly elaborate cakes for our children's birthday celebrations.  We just completed our latest creation this past weekend.  Our oldest son wanted to have a Lego Indiana Jones themed birthday.  We were up for the challenge!

We perused what had already been done by other folks, found some great ideas and proceeded with our own rendition.  We really liked the idea of a stepped pyramid design with some erosion and overgrowth. 

Once we had the vague idea, we purchased some necessary goodies: yellow butter cake mixes, buttercream frosting, chocolate frosting, licorice, chocolate rocks, and other fun confections.

The wife baked four cake mixes worth of cakes (1/2 sheet, and about 3 more 12 inch squares).  We cut, we stacked, we came up with this:


Frosting this tower was a chore, but we survived it.  I airbrushed food coloring shadows, we embellished it with vines and other tropical looking plants (licorice and green tinted frosting), hit it with some sugars, and airbrushed again.

We ended up with a crystal skull at the top as Indy's treasure...mainly because it just sort of worked out the best.  I sculpted the skull out of fondant and a blue icing gel, then hit it with the airbrush food coloring.  We stuck on some Lego pieces, candles and called it complete:


This was a fun one.  I'll have to post about some of the other cakes we have done (like the Melting Beaker Cake) in a future post.

Let them eat cake,
Rob

Wednesday, April 27, 2011

Greatest Name I've Ever Been Called

Well folks, I've been called many things in my life.  Some names are not worth repeating, others sounded fairly prestigious, some even demanded respect, others were meant to hurt.  By far, the greatest name I have been called, the grandest title I have had is "Daddy".

I became "Daddy" 8 years ago today when my precious son Zachary was born.  What a tremendous responsibility it is being Daddy, one that I relish and approach with a deep respect. 

Below is a portrait I did of Zach a couple of years ago.  I think it is time to do another one for this wonderful little man that I am so proud of.
" Reflective Zachary" by Robert S Dilling graphite on paper 10x12
Happy Birthday Zach!

Thanks for reading,
Rob

Tuesday, April 26, 2011

Poem Panels

So, I’m currently working on something a bit different…Poem Panels. 

So, what in the world are “Poem Panels”?

This is a bit of a Graphic Design project with a twist.  The client asked for three different  poems to be written out on three panels to be placed as the backdrop in a living room built-in shelf.  Each poem represents each of the family’s three children and the corresponding photo of each child will be in front of the poem.  These are fairly large about 52×24 inches each.  Okay, that may be hard to visualize…I’ll post photos when it is all said and done.  This will give you a basic idea.
Poem Panel Sample Layout
I am going at this project electronically.  I’ve used Adobe Illustrator and Photoshop to lay out the Poems and get the colors right.  There is still some tweaking to be done.  I’ve also gone through hundreds of fonts to find the “right” look.  I will be printing these in Giclee quality, mounting to panels, and then applying a clear finish to protect and give a painterly look and texture.  Next, install the panels in the built-in shelf.

This is a fantastic idea that the client had, she just was unsure of how to make it happen.  I am thrilled to make her vision become a reality!

Live well,
Rob

Old Mesilla Arched Door

This is the first very small,  dare I say “tiny” painting I have attempted.  This little guy is 5×7 inches, painted in oils on linen.  I have been wanting to paint this little scene for at least a couple of years…well, here it is.

Old Mesilla Arched Door by Robert S Dilling
 I used a photo I took while visiting friends in Las Cruces, NM as source material.  Old Mesilla is a fantastic little place within Cruces with some beautiful Southwestern Architecture, great history, Native American Jewelry/art, and some really excellent New Mex cuisine.

I did come to learn that painting a high degree of detail on such a small scale was quite a challenge.  I really aimed to capture the depth and texture in the scene in order to draw the viewer in and give them a sense of calm and a bit of curiosity.  I am debating painting this again, but on a much larger scale….

This painting is for sale if you are interested.  I will also have small GiclĂ©es available in the near future.

Live Well,
Rob